
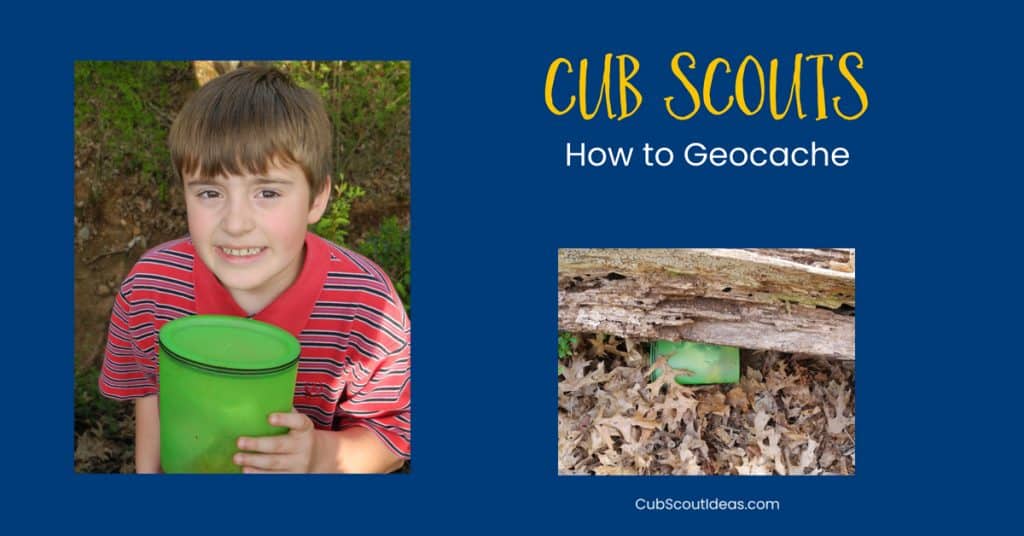
How to Geocache for Kids
A quick guide to show families how to geocache! It’s a great activity for kids. Geocaching will get Cub Scouts outdoors, which is where we want them to be.
After I posted about the Geocaching Get Outside Day on the Cub Scout Ideas Facebook page, one of my very good friends asked how to get started in Geocaching.
I wrote a quick “How to Geocache” response to her that I thought I would share here. My disclaimer is that I’m ready to head out myself, and I wrote this up very quickly, so forgive me if I made a mistake!

How to Geocache
Geocaching is a great activity to get our kids outdoors! Your Cub Scouts will be able to practice many skills such as using a GPS receiver or a compass, observing your surroundings closely, and interpreting longitude and latitude, to name a few.
The Wolf elective adventure, Finding Your Way, teaches the Scouts how to use a compass, so geocaching would be great practice!
A Cub Scout geocaching event is a great pack activity!
To find out if you like it, go to Geocaching.com and set up a free account. It’s $30 a year to upgrade to a premium account which gives you access to lots more caches and some other great features.
I love my premium membership, but I would wait until you’ve been out once or twice with the free account before you sign up just to make sure you like it.
After you sign up for your free account and verify it through the email they’ll send you, you’re ready to start!
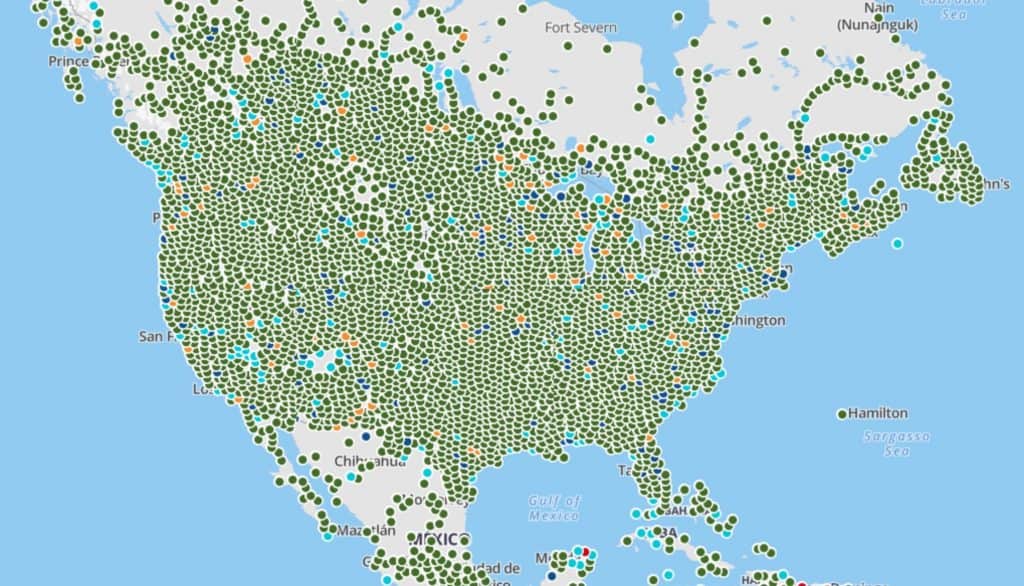
Lots of Geocaches
From the main Geocaching page, you can put in your location and see all the caches that are around you.

Another cool option is to click on the “Play” tab, then “View Map.” When you zoom out, you’ll see just how many geocaches there are. It’s pretty amazing!
After you enter the location you want to search, you’ll see a list of all the caches close to you!
You can add some filters (such as the distance from your search term, how difficult the cache is to find, etc.), but I would start with no filters. You’ll then see a list of geocaches. You’ll be amazed to see how many caches are practically in your backyard!
How to Filter Geocaches
The list of caches will look like this:
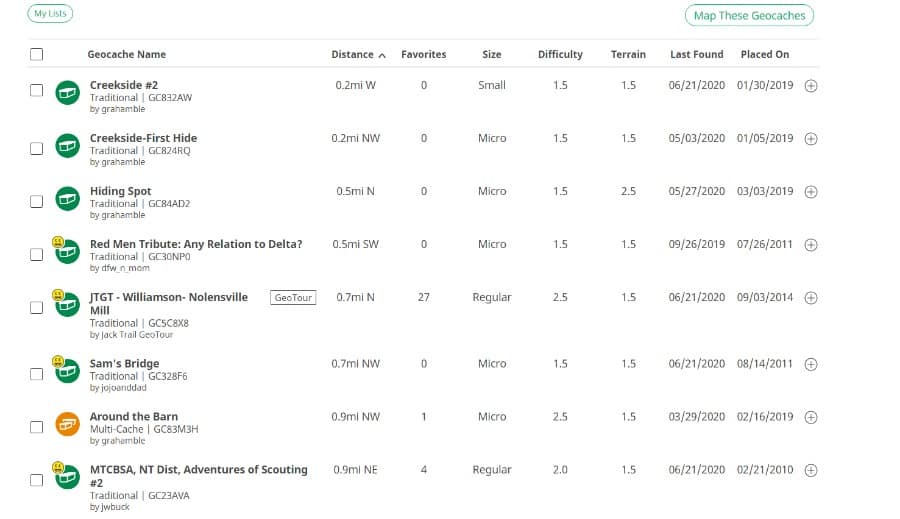
The image on the far right shows you what kind of cache it is. The green boxes indicate that they are traditional caches. The yellow boxes mean that it is a multi-stage cache–the first cache will lead you to the second which will lead you to the third, etc. Click here for a full list of cache types.
The next column gives you the cache name and number (starts with GC) as well as the geocache “handle” of the person who hid it. My handle is ShortFamilyTN.
Distance is how far the cache is from your search term. Favorites show how many people have given the cache a “favorite” point.
Next are the columns for difficulty and terrain. Difficulty is simply how hard it is to find. Terrain is how hard it is to get to it (Are you hiking or canoeing or rock climbing to get to it? Or are you pulling up to a light pole in a parking lot?). 1 is the easiest, and 5 is the most difficult.
Until you have a little more experience and especially if you’re caching with kids, you’ll want to look for small or regular sized caches. The larger the cache, the easier it is to find.
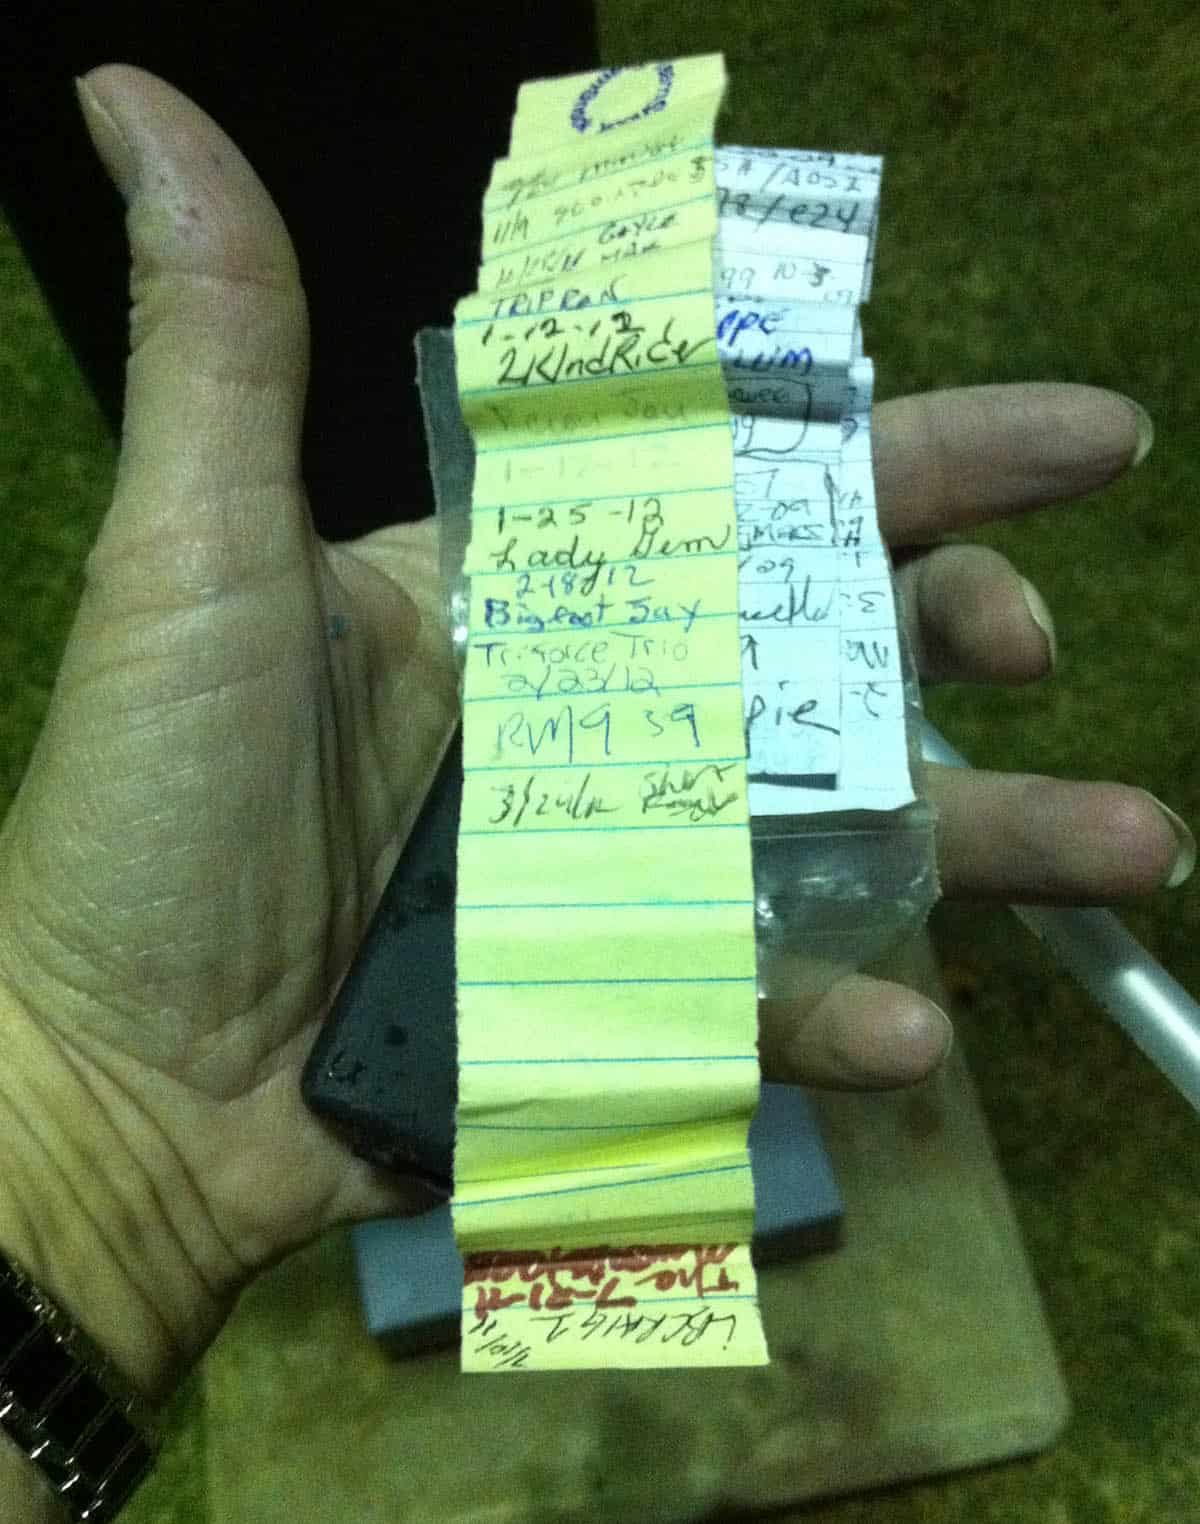
Geocaching Swag
The larger caches often have trinkets or “swag” for you to trade. My boys call it treasure! Looking for caches that potentially have treasure makes it much more fun for them!
You should take something to trade. The expectation is that you’ll leave something equal to or better than what you take. Check out the kids’ toy bins for some trinkets. You can even trade for coins (take a toy, leave a dime or quarter).
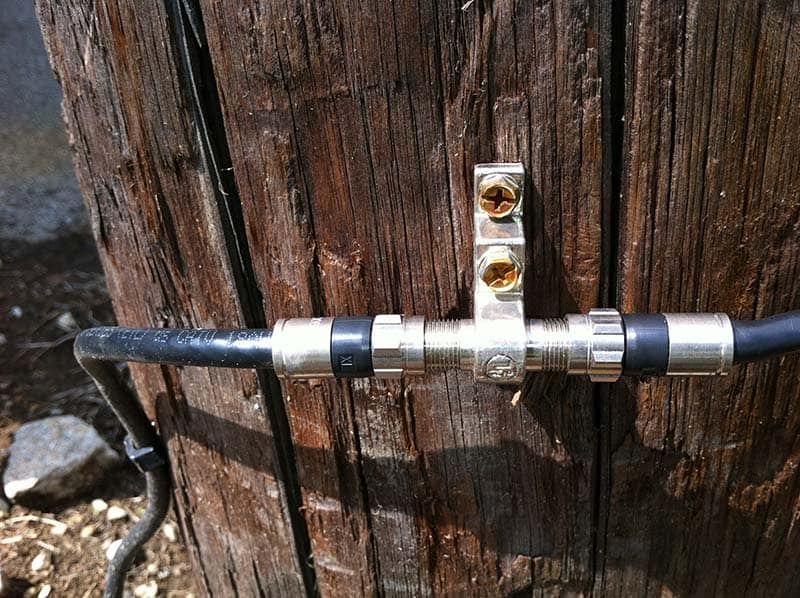
How to Find a Cache
Once you click on your geocache, you’ll see GPS coordinates in the blue box like this ” N 36° 02.778 W 095° 46.599″. The tricky part is how to get there!
Many people use a handheld GPS receiver.
But if you want to get out today and don’t have a GPS receiver, never fear! You can geocache without one!
A lot of folks use Google Maps to get started. You put those coordinates in Google Maps, and it’ll point you to that location. When you get fairly close, you can use the compass on your phone.
Or if you have the Google Maps app on your phone, type the coordinates into the app, and it’ll take you right to the cache.
Groundspeak, the main geocaching company, has a free iPhone app. Within the app, you can sign up for a membership. The annual membership is $29.99. This gives you access to members-only caches. Even if you only go geocaching twice a year, I think it’s worth the cost.
If you decide to use the app, start on your computer and pick out 4 or 5 caches that are noted as the beginner caches.
Write down the number that starts with GC. It’s located in the top right of the screen. When you go into the app, you have the option of searching for a cache by GC number.
Here is the important part. GPS coordinates are only accurate up to about 15 or 20 feet (depending on where you are).
So, when you get that close, put the map or compass or phone away and just LOOK!
Look high, look low, look for something that doesn’t look quite right–a strange pile of rocks at the bottom of a tree or something like that.

Don’t spend too long–maybe 15 minutes–looking. If you don’t find that one, go on to the next one. If you pick ones that are beginners and that are fairly big, you should find one quickly–maybe not your first one, but the second or third.
It helps to promise the kids an ice cream cone or other treat when you’re done.
What to Do When You Find a Geocache
Each cache will have a log sheet in it. Sign it using your Geocaching username that you signed up with. Then when you get back to your computer, “log” your visit. You’ll see that option directly below the GC number.
So, that’s it for the very quick and dirty getting starting guide! I hope this helps you participate in Geocaching Get Outdoors Day!
Yours in Scouting,
Sherry
P.S. If you want to plan a geocaching event for your Cub Scouts, check out this post!
7 responses
-
[…] If you aren't familiar with geocaching, you can read about it here. […]
-
[…] it’s possible to earn a badge. Girl Scouts offers a Geocacher badge. For Cub Scouts, Cub Scout Ideas has a useful geocaching guide. A Geocaching merit badge is available for BSA […]
-
[…] Hosting a fun community event is a great way to introduce Cub Scouting to new families. It’s a way for kids to have fun while parents get information in a more relaxed environment than a traditional round up. Last year, my pack hosted a geocaching event. […]
-
[…] you don’t know much about geocaching, you can read my How to Geocache article. Check out a great resource and other details about how to plan and execute this awesome activity […]
-
[…] Every boy’s Pinewood Derby car starts with a simple block of wood. It’s amazing to see the designs the boys make out of that wood. We’ve had King from the Cars movie, Steve from Minecraft, a Bat Mobile, Bullet Bill, an arrow and a leopard. I have even built my own car too. One was a Beyblade car when they were so popular with my boys. The other was a “Travel Bug” car. Travel Bugs are popular in geocaching! […]
-
[…] If you aren’t familiar with geocaching, you can read about it here. […]
-
[…] Hosting a fun community event is a great way to introduce Cub Scouting to new families. It’s a way for kids to have fun while parents get information in a more relaxed environment than a traditional round up. Last year, my pack hosted a geocaching event. […]
Leave a Reply