
How to Make a DIY Dinosaur Dig Kit
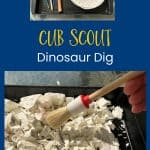
Make a dinosaur dig without Plaster of Paris! You only need corn starch and water. Fun activity for Cub Scout Wolf adventure, Digging in the Past.
Lots of kids LOVE dinosaurs, and our Cub Scouts are no different. That’s what’s cool about the Wolf elective adventure, Digging in the Past. While they’re learning about how fossils are formed, the Scouts get to do fun dinosaur activities like this dino dig.
Wolf Elective Adventure Digging in the Past 3B. Be a paleontologist and dig through a dinosaur dig.
The Wolf handbook calls for using Plaster of Paris for the dinosaur dig, but most of us don’t have that just sitting around the house. I did a little research to see if I could find another way to make this.
Corn starch!
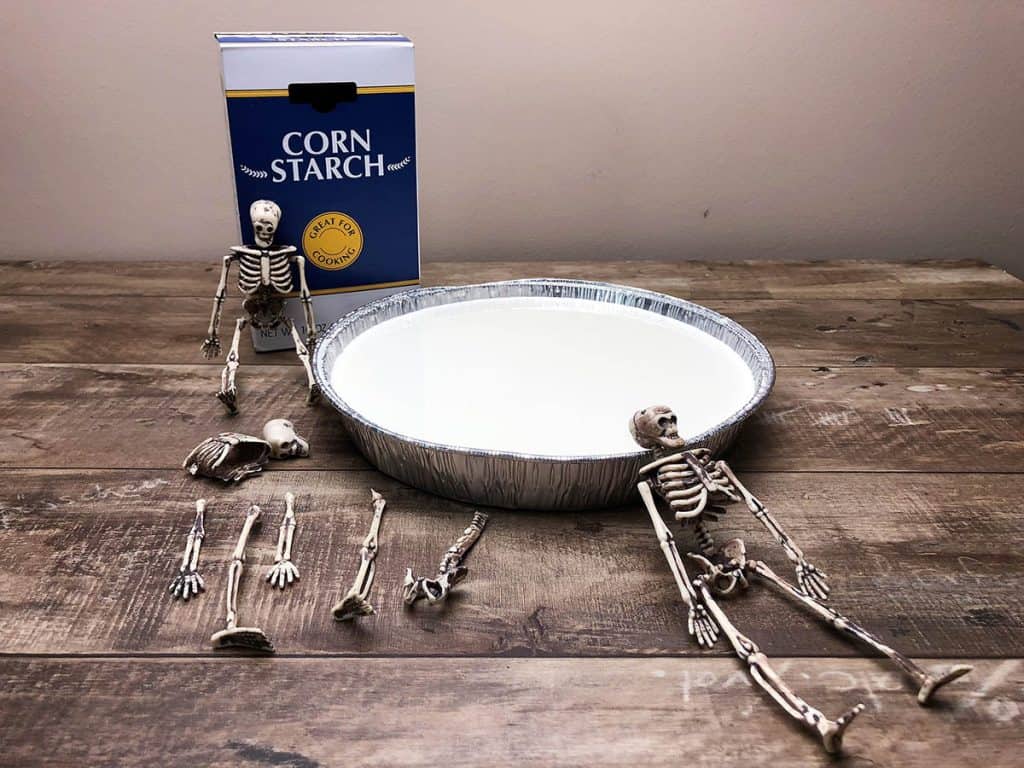
Yes, you can make a dino dig with only corn starch and water. You probably have a box of it lurking in the back of your pantry.
When you mix the corn starch and water, you’ll get oobleck.
I didn’t have enough, but it was a lot easier to stop at the dollar store or grocery store to buy corn starch instead of heading to the craft store or Home Depot for Plaster of Paris. And it’s cheaper too.
Supplies for DIY Dinosaur Dig Activity
- Corn starch
- Water
- Mixing Bowl
- Dinosaur toys or fossil skeletons
- Container
Notes on supplies: I used a deep dish-type disposable aluminum pie plate for the activity. These types of containers would work well too.
The amount of corn starch that you’ll need really depends on how big your container is. I bought two 16 oz. boxes and used about one and a half boxes for the deep pie plate.
When I was shopping for the dinosaur dig supplies, I went to Dollar General and Walgreen’s. Neither had any dinosaur toys or dinosaur skeletons.
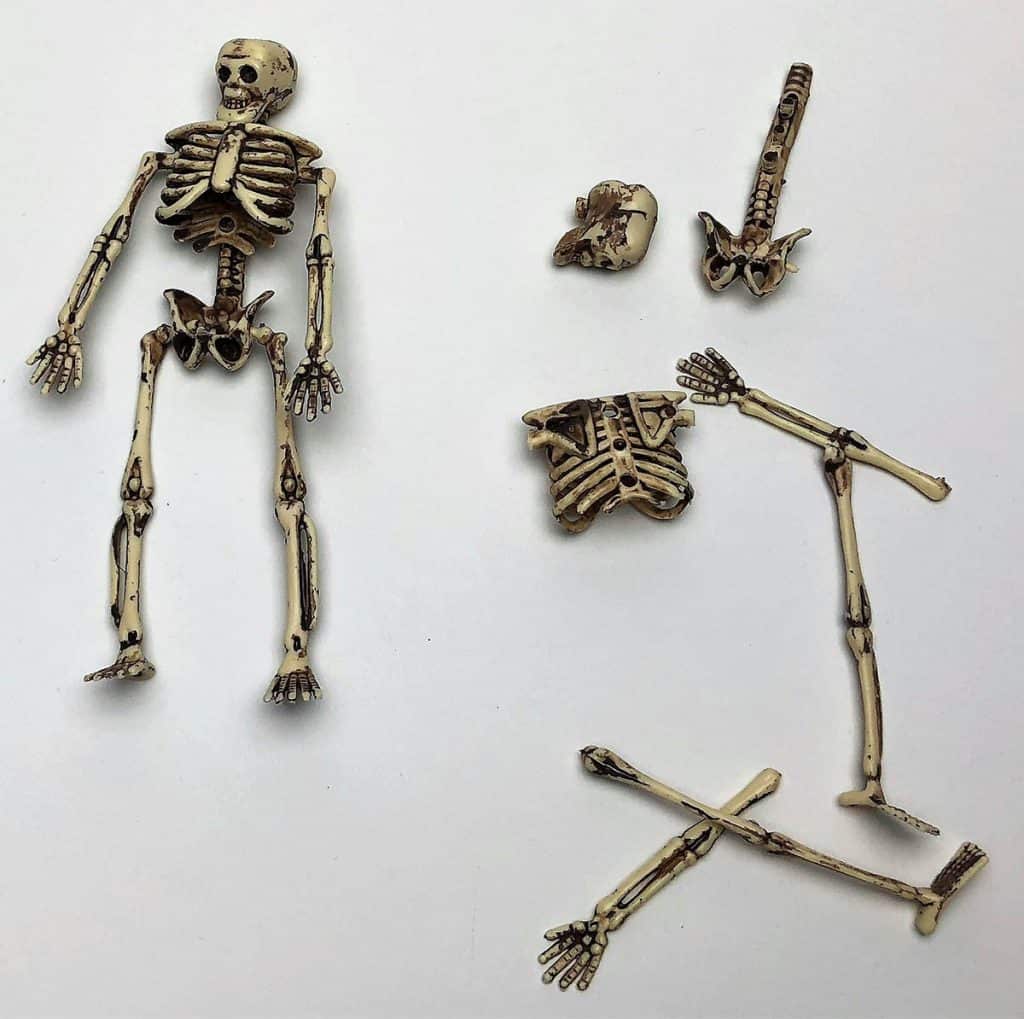
It was just after Halloween, and Walgreen’s had these skeleton garlands on sale for 80% off. They aren’t dinosaurs, but they are skeletons! And a Scout is Thrifty, right?
So, I actually have a human skeleton dig instead of a dinosaur dig. 🙂
Steps to Make a Dinosaur Dig
Remember, your Cub Scouts are supposed to make the dig, so don’t do this for them.
If you can, take the Cub Scouts outside to mix up the oobleck. Otherwise, you’ll be cleaning corn starch off the floor for days! Not that I had any personal experience with that. 🙂
Combine the corn starch and water together in a big bowl to make oobleck. You’ll want to mix twice as much corn starch as water to make the perfect texture.
For example, use 3 cups of cornstarch to 1 ½ cups of water. If the mixture is too watery, add more corn starch.
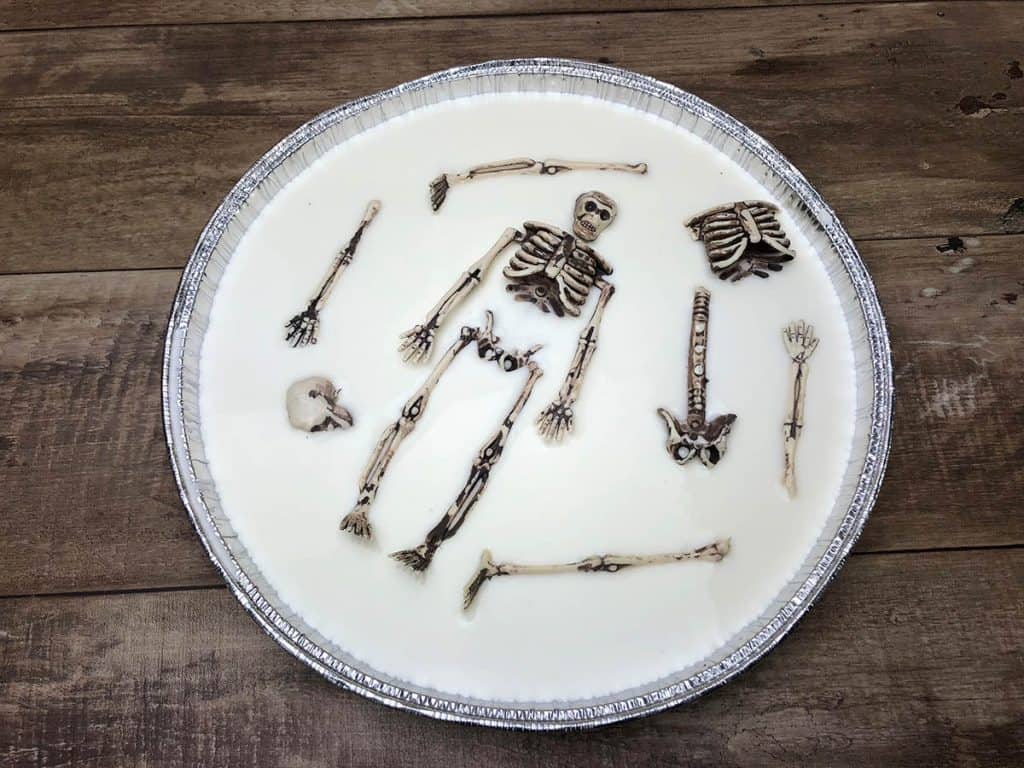
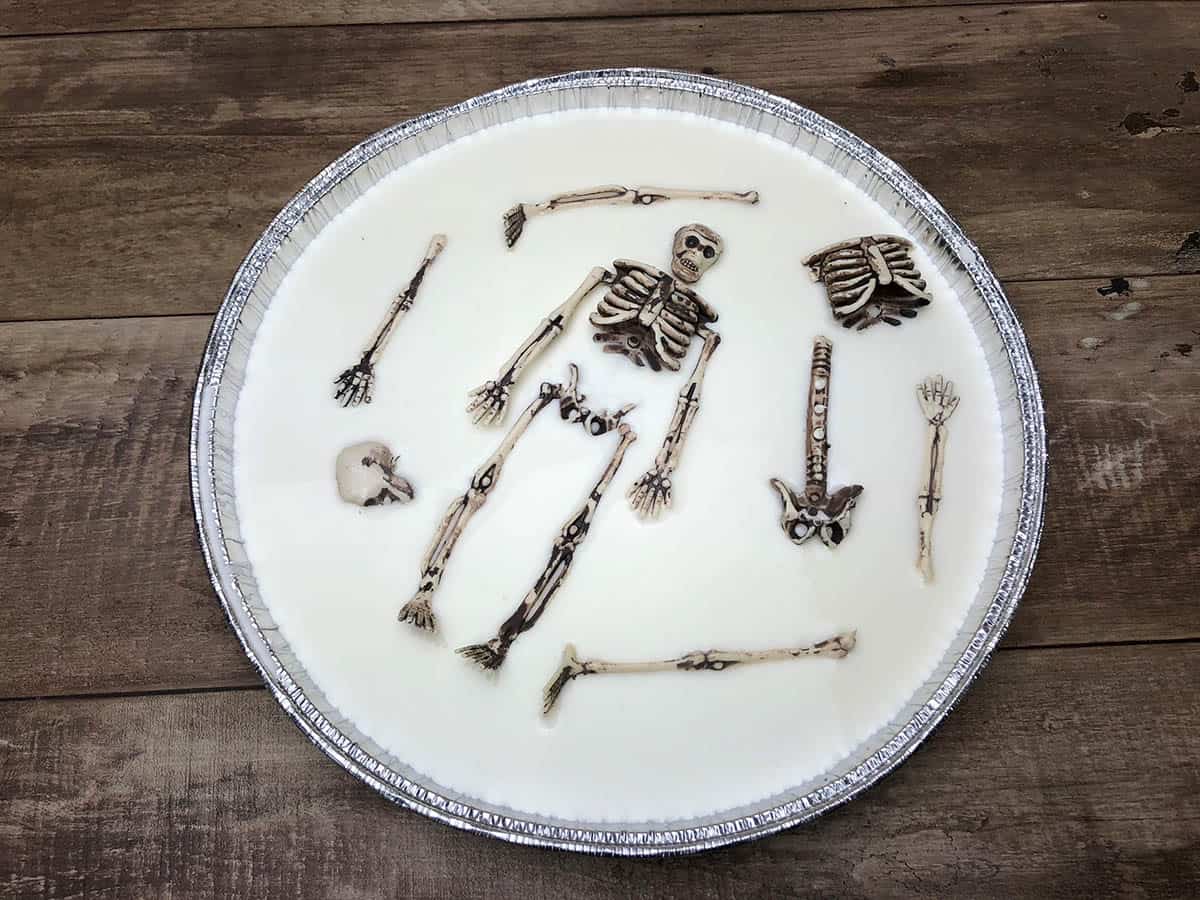
Pour the oobleck into your container. Bury the dinosaurs in the oobleck so that you can’t see them.
Your bones may not want to stay buried, so you may have to push them back down into the mixture. It’s OK if a couple of them are poking out of the mixture, but make sure that most of them are totally submerged in the oobleck.
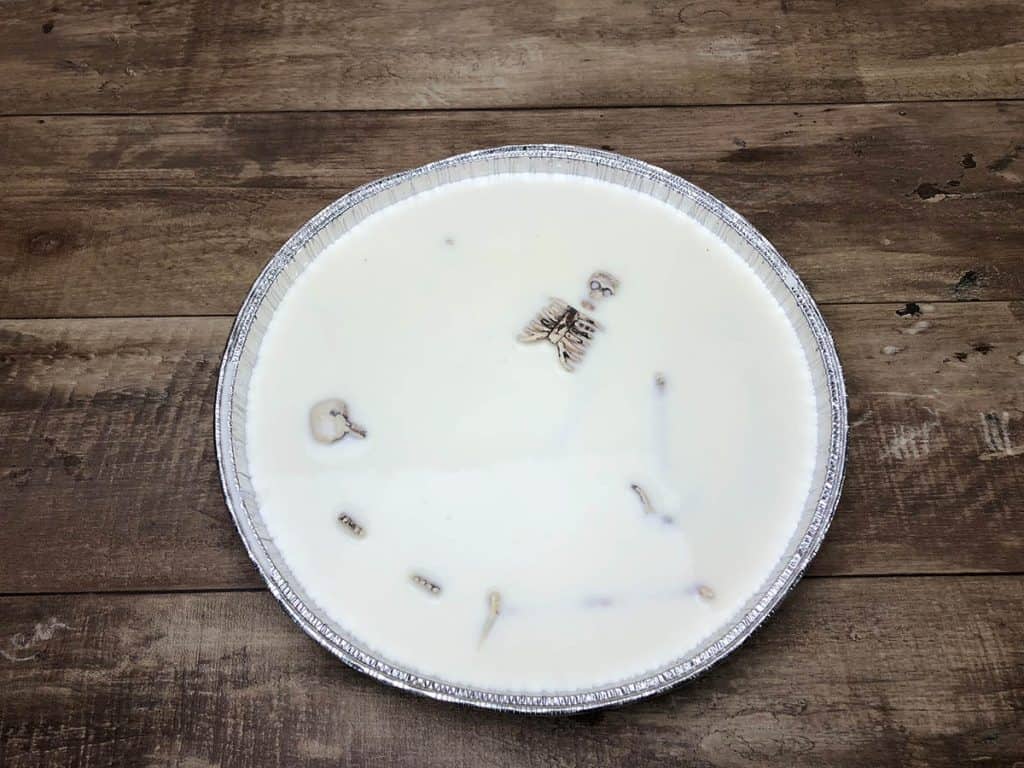
Put your container outside for a day or two to dry. If it rains, you’ll need to bring the container back inside.
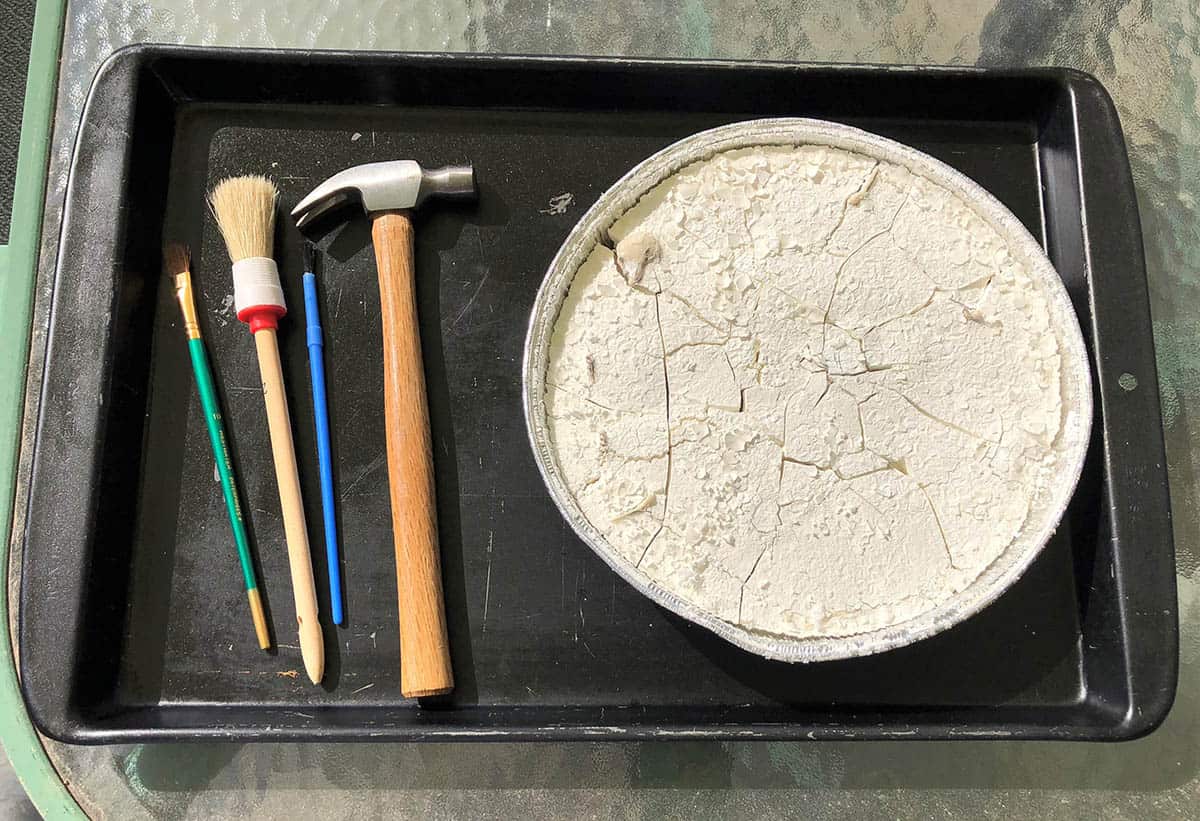
You’ll know when the oobleck has hardened enough as you will start to see cracks in it.
If you do this as a den activity, you’ll probably want to take all of the containers home with you. That way, you can ensure that they all come back to the next meeting. A large shallow box would make transporting them easy.
Digging for Dinosaur Bones

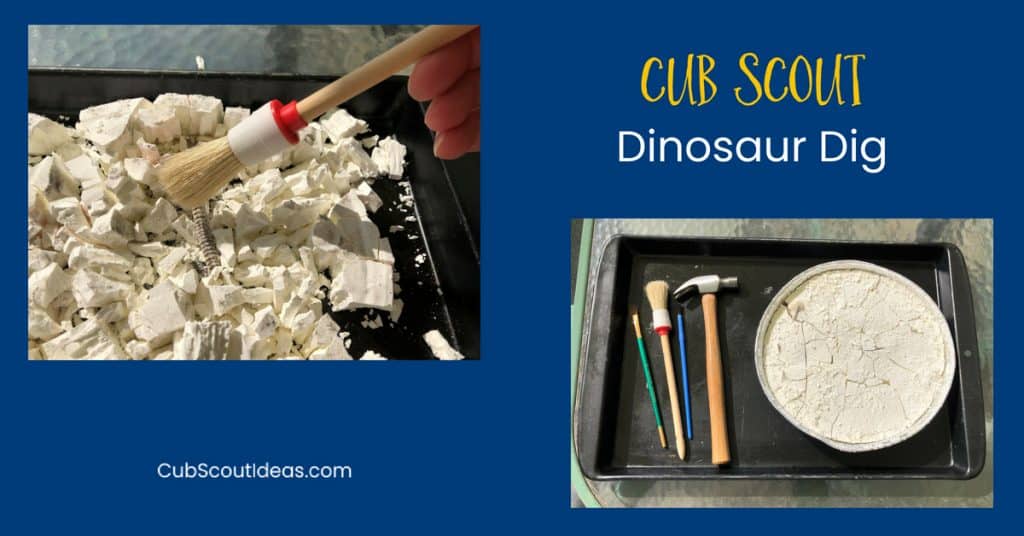
Gather up some dinosaur digging equipment. Let your kids use their imaginations, but household items like old toothbrushes, paintbrushes, toothpicks, and a lightweight hammer can work just fine. You could have your Cub Scouts bring their own digging equipment from home.
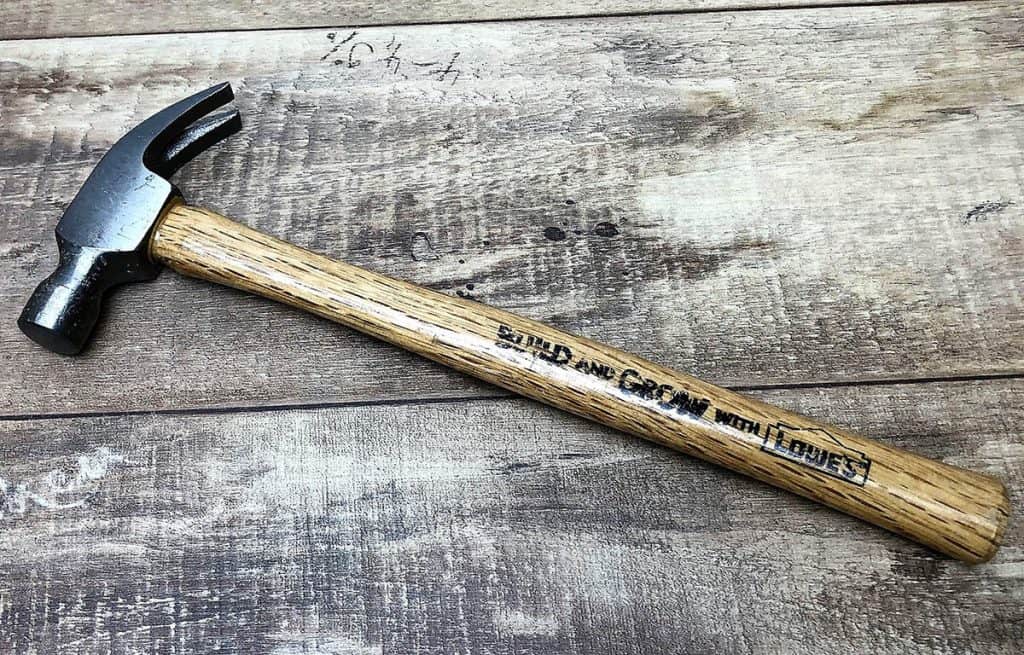
We’ve had this hammer for a while. One of my boys got it when they attended one of the Lowe’s workshops for kids. Unfortunately, it looks like Lowe’s has discontinued this program.
This is going to get messy. Corn starch dust will be everywhere. I highly recommend that you do this outside. Picnic tables are perfect to work on if you have access to a place with them.
Bring something for the Scouts to work on. I used a pan, but newspaper would work just fine. Spread the newspaper out on the table.
Note: The handbook calls for wearing masks and safety glasses when you’re excavating. I don’t think you need a mask for corn starch, but it’s always a good idea for the Scouts to wear safety glasses.
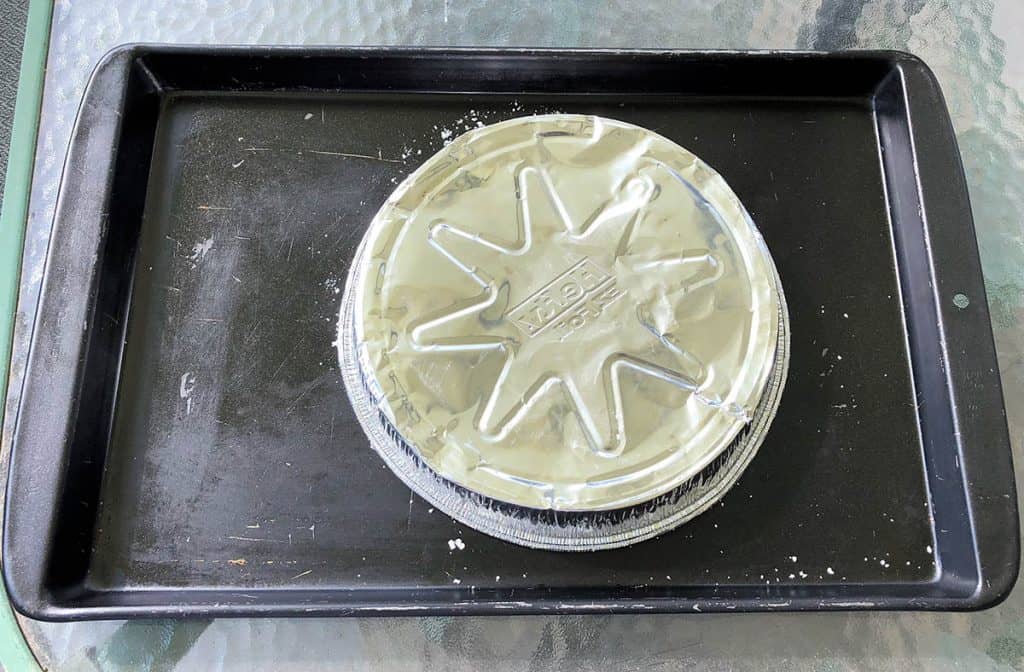
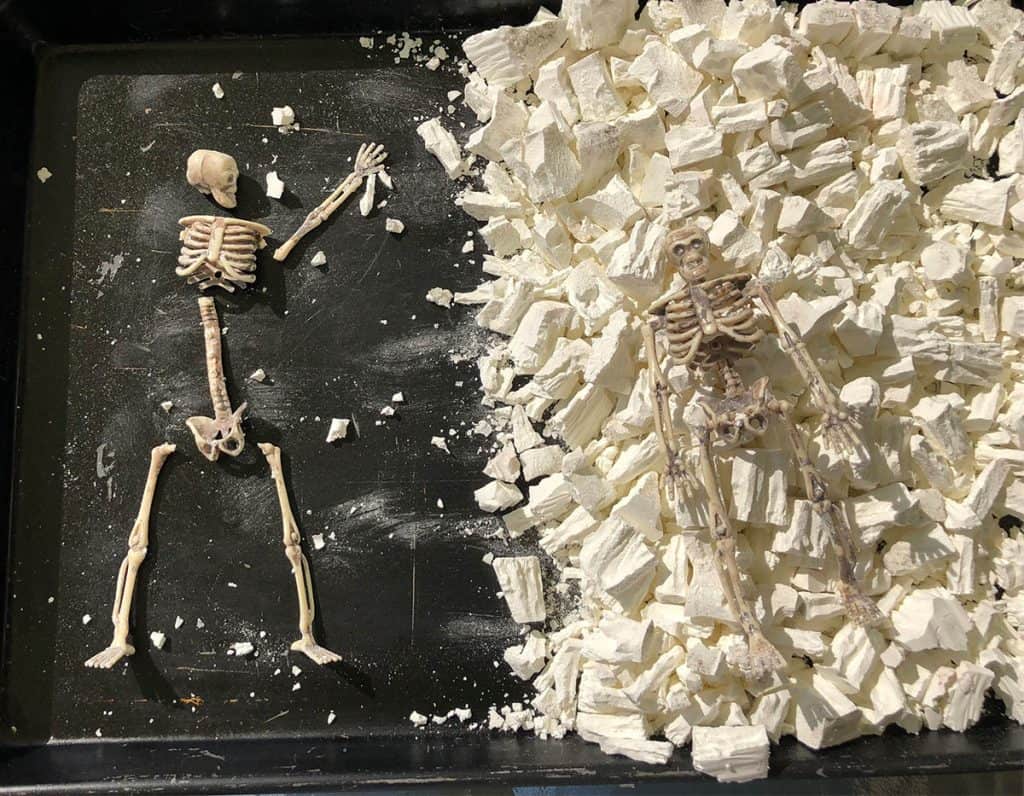
Carefully turn the container upside down onto the work surface. Remove the container, and your dig should slide right out.
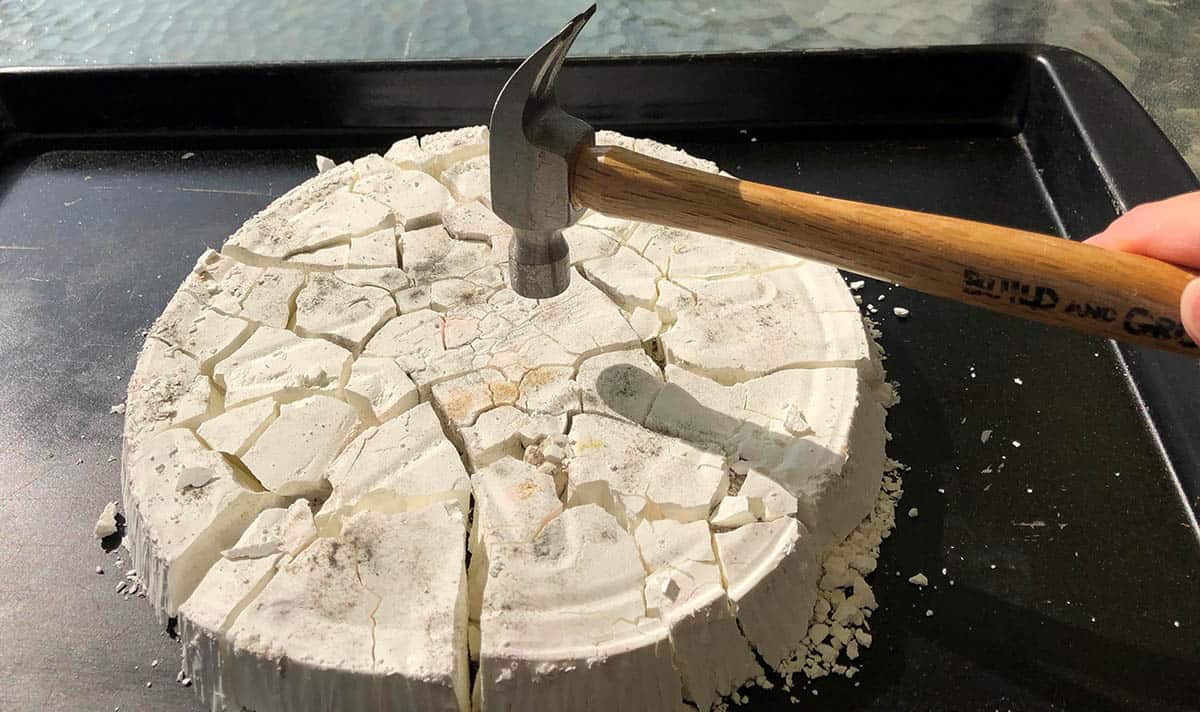
Your dig may crumble a bit which is totally fine. If it doesn’t, your Cub Scout can use the hammer and very gently tap on it to start breaking it up.
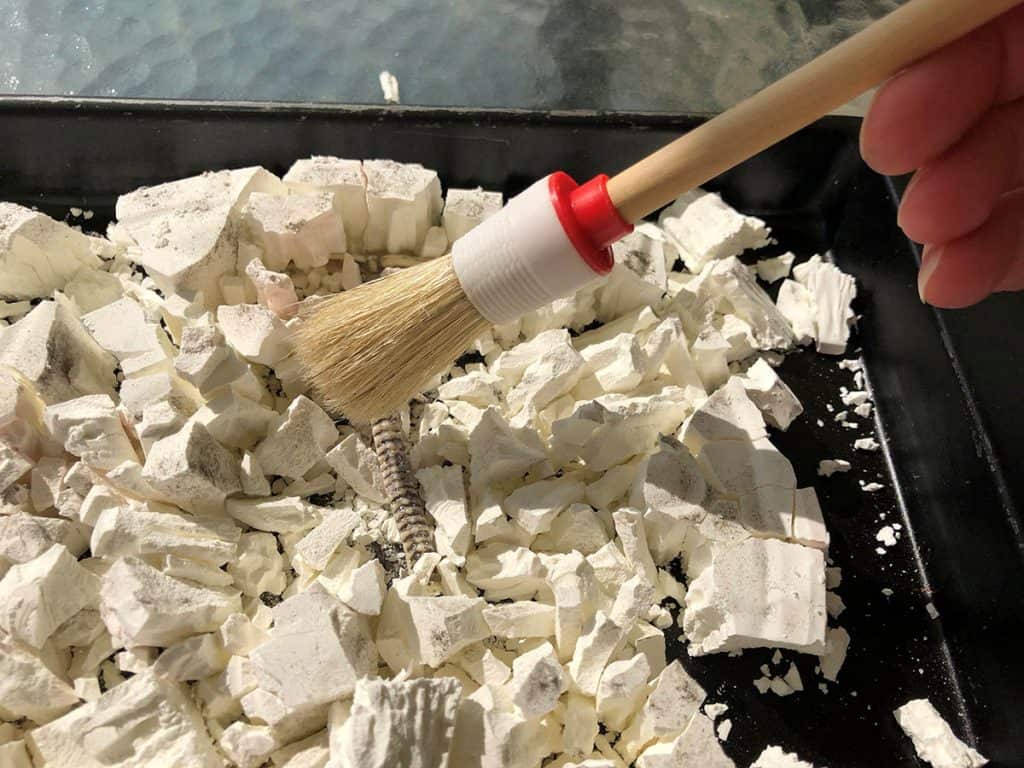
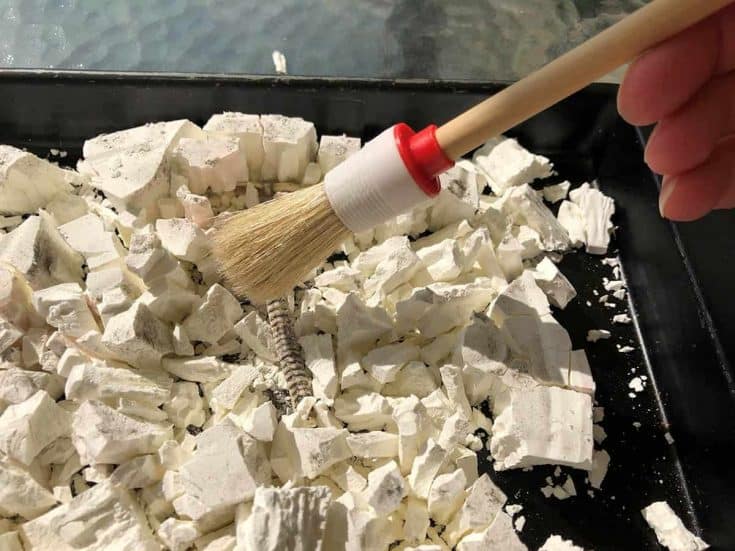
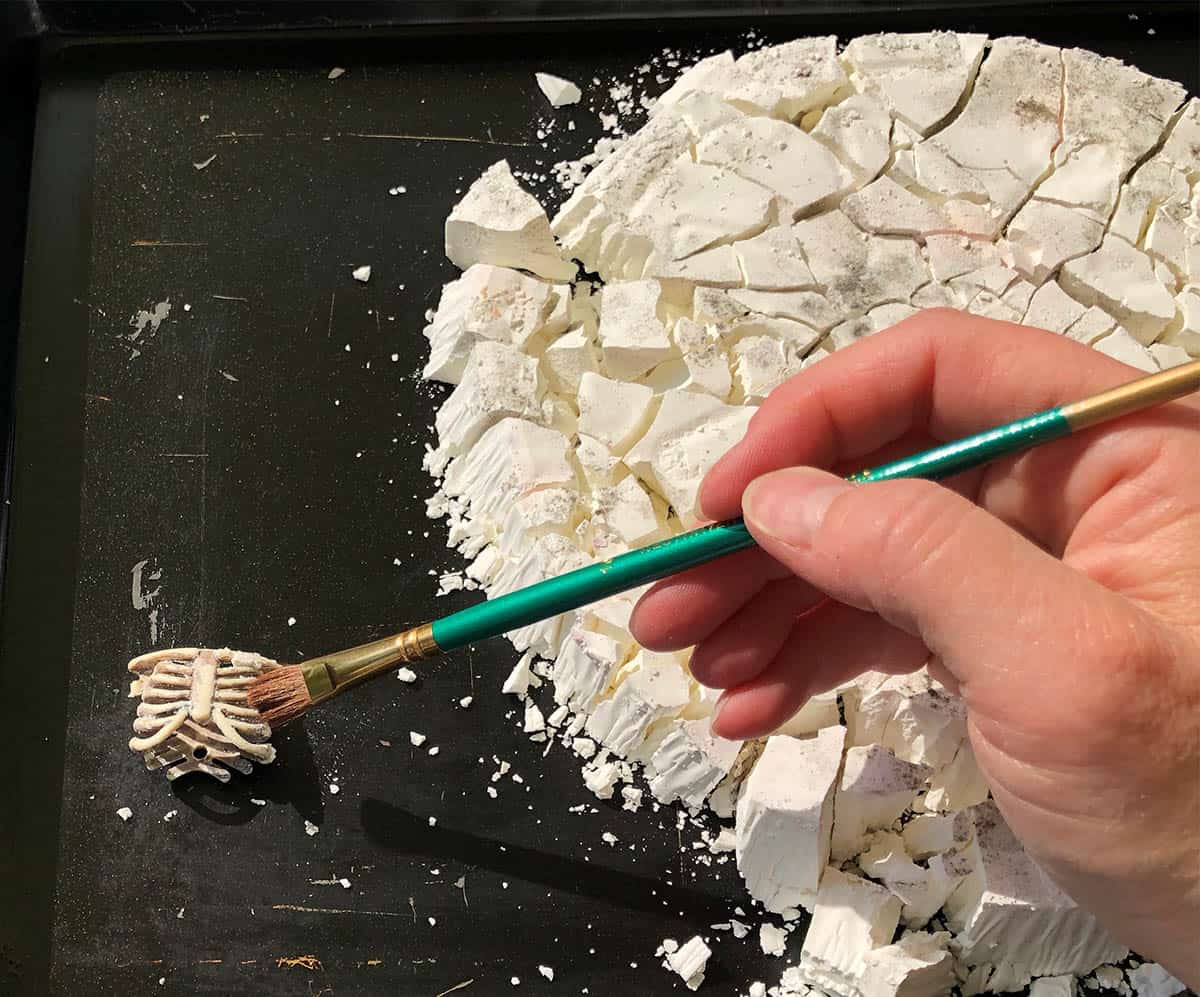
Allow your Scouts to brush and dig their way through the dried oobleck. Remind them that when they see a bone, they should gently excavate around it, removing the corn starch debris with a brush.
Soon, they’ll find their dinosaur bones!

How to Make a DIY Dinosaur Dig Kit
Instructions
- Combine the corn starch and water together in a big bowl.
- Pour the mixture into your container.
- Bury the dinosaurs in the mixture so that you can’t see them. You’ll need to push them down into the corn starch mixture.
- Put your container outside for a day or two to dry.
- When the mixture is dry, set up a work space outside. Cover your work space with newspaper.
- Carefully turn the container upside down onto the work surface. Remove the container, and your dig should slide right out.
- Use the hammer and very gently tap on the dig to start breaking it up.
- Use the brushes to dig through the dried oobleck to uncover the bones!

Notes
Corn starch can be messy! Have the Cub Scouts break it up outside.
Let me know how they enjoyed being a paleontologist!
Yours in Scouting,
Sherry
P.S. If your child really enjoyed this activity, they might like a fun dino dig kit like this one.
4 responses
Tried this the other day. My scouts pans are drying, and on day 3 I come in to find many of them covered in mold!!! They buried the plastic bones and some rocks, that’s it. I’m amazed at how moldy they got so quickly! Definitely use caution with this .
I found this idea back when school got out I really want to do it with the kids when school starts so that this way we’re not doing requirements before recruitment night I thought I seen a page that talked about the ratio of cornstarch to water I can’t find it anywhere does anyone know???
How far in advance can you make these? I’m wanting to make some to send to my nephew and nieces for Christmas.
It really depends on the temperature and humidity where you are. If it’s cold and damp, they’ll take longer to dry. Just to be on the safe side, I would probably start the process at least a week and a half before you need them.