
- Cub Scout Activities
- |
- Cub Scout Bears Adventures & Requirements
- |
- Cub Scout Webelos Adventures & Requirements
How to Easily Make a DIY Hiking Stick
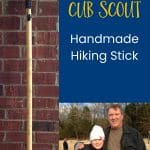
Your Cub Scout can make a handmade hiking stick. This fun craft project is useful and can bring back fond memories when they hike with it for years to come.

A couple of years ago, one of the dads who was attending Cub Scout Day Camp with us shared his plans for making hiking sticks. They are awesome!
It will take the Scouts a few weeks to finish them if they only work on them during den meetings. The nice thing about this project is that the steps can be done during a den meeting or at home.
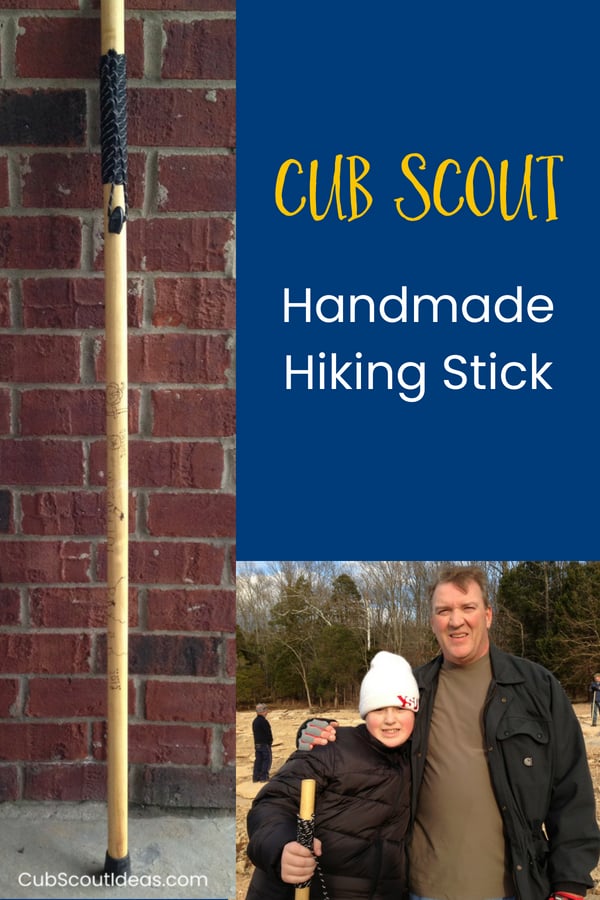
My Webelos den made these handmade hiking sticks, and they turned out great! Parker used his on a cold January hike. This is a good project for your Bears or Webelos. In fact, it’s a perfect Baloo the Builder idea!
How to Make a DIY Hiking Stick
Scroll down for printable directions!
Supplies and equipment for this DIY walking stick idea can be purchased at almost any hardware store. In the list below, I’ve included my affiliate links to make purchasing them easier for you.
First, gather all your supplies, tools, and equipment.
Hiking Stick Supplies:
- 1 1/8″ x 4′ Dowel Rod
- 20 mm Compass
- 550 Paracord -17′ of cord per dowel
- Aerowave Zipper Pull Survival Whistle
- Rubber furniture leg tip
- Danish Oil or Stain and Polyurethane
- Wood Glue
Tools and Equipment:
- 1/4″ Drill Bit to drill holes for rope
- 20 mm Forstner Drill Bit – for compass inset
- Wood Burning Tool
- Sandpaper
6 Steps in Making a Handmade Walking Stick
Pre-Work
There are a few things you need to do before meeting with the Scouts.
Prior to distributing the hiking sticks to the Scouts, pre-drill the dowel rods. Start by drilling a 20 mm hole in the top of the dowel rod. This is for the compass. Make sure the hole is deep enough for the compass to sit level with the top of the rod.
Drill two holes for the handle. The first should be approximately 3″ from the top (where the compass will be), and the second should be approximately 9″ from the top.
Step 1: Sand and decorate the dowel rod
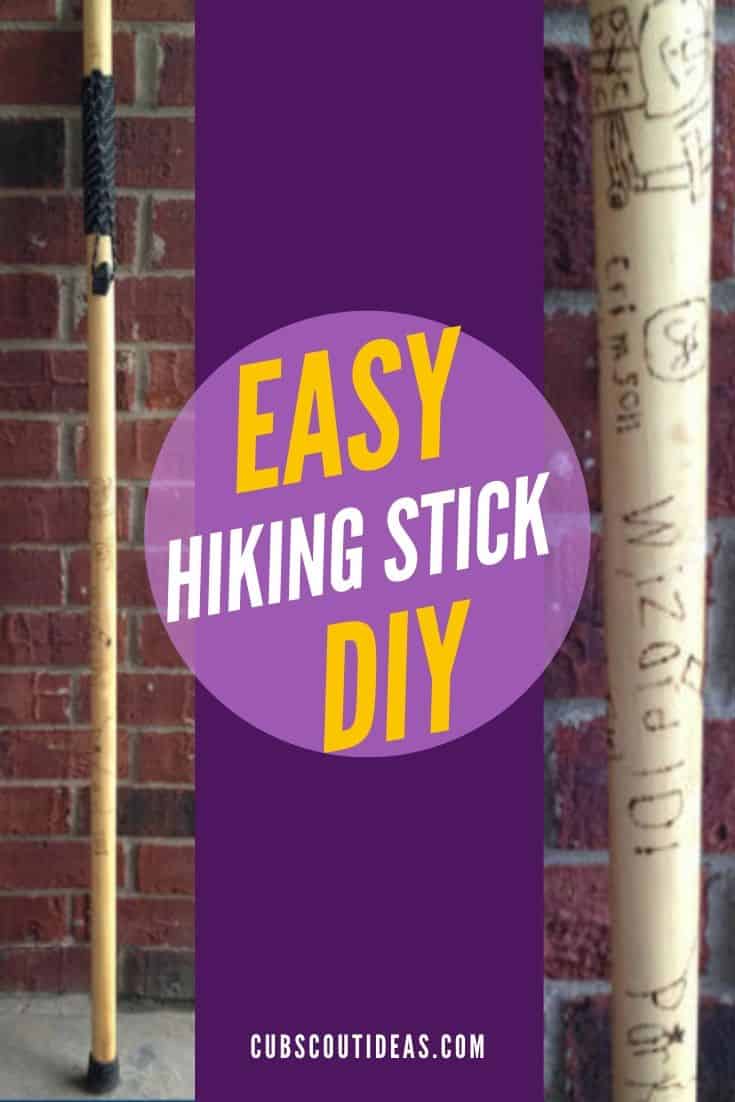
Give the Scouts their dowel rod and some sandpaper so that they can sand the rod. The Scouts are to draw designs on their rods with pencils. They can do this freehand.
My friend Betsy’s sons printed designs from the internet and used carbon paper (yes, you can still get it!) to trace the designs onto the rod.
My Scouts struggled a bit with what to draw, so you might want to brainstorm designs with them. Sports teams and comic book or video game characters are good options.
Make sure they put their names and the date somewhere on their hiking stick.
Scouts can also add measuring marks to their sticks. If they do, have them put the rubber tip on the end first so that their measurements won’t be off.
The Scouts should not draw between the two holes because anything there will be covered up by the paracord handle.
Step 2: Trace drawings with wood burning tool (parents only!)
Parents should do this step. Using a wood burning tool, trace over the drawings the Scouts have done so that the designs are burned into the wood. If you have a large den, you’ll want to have several tools available to set up multiple stations.
If you only have access to one tool, you can collect the sticks at a meeting and take them home to do the burning. They can be passed out to the Scouts at your next meeting.

Step 3: Apply Danish Oil
This step will need to be done at home. Give the Scouts baby food jars (or other small containers) with 2 or 3 ounces of Danish oil. They should apply 3 or 4 coats before the next meeting. Using a clean rag, apply the Danish oil generously to the hiking stick. Keep rubbing the stick until the wood seems to stop absorbing the oil.
Allow the stick to dry overnight, and apply another coat. Repeat until you’ve applied 3 or 4 coats. Make sure you’ve sealed the inside of the holes, the top and the bottom of the rod.
The last coat of Danish oil should be applied at least 48 hours before your next meeting to give it time to dry completely.
Step 4: Attach compass and rubber tip
Glue the compass into the recessed area on the top of the hiking stick. If needed, glue the rubber tip to the bottom. Our rubber tips fit so tightly that we didn’t need to glue them.
Step 5: Wrap paracord
Wrap the paracord to form a grip and a wrist strap. You’ll start by inserting one end of the paracord through the top hole. Pull through the hole leaving about 9″ – 12″ hanging free. This will be part of the wrist strap. Insert the other end through the bottom hole, and pull tight.

Start wrapping the handle grip up toward the top hole. On the first wrap around the dowel, pass the cord you’re wrapping between the paracord “line” and the dowel rod. This will keep the paracord from slipping.
The second wrap will go over the top of the paracord “line”. The third pass will go between the line and the dowel rod.
Continue alternating between going over the top of the “line” and going between the “line” and the rod. This will hide the string going from the bottom hole to the top.
Every couple of passes, push the cord down so that there are no gaps between the wraps. Wrap the cord as tightly and as high as possible.
When you reach the top hole, insert the cord through it going in the same direction as the other part of the wrist strap. Tie a square knot to keep tension on the wrapped part of the handle.
Step 6: Attach whistle
Trim the wrist strap to your desired length, and attach the survival whistle. Attaching the zipper pull is a very tight fit, so you’ll need to remove about an inch of the inner threads from the paracord.
And now, your hiking stick is completed! Make sure you plan a hike soon so that the Scouts can test out their new hiking sticks.
How to Easily Make a Cub Scout Hiking Stick
Your Cub Scout can make a handmade hiking stick. This fun craft project is useful and can bring back fond memories when they hike with it for years to come.
Materials
Tools
Instructions
- Prior to distributing the hiking sticks to the Scouts, pre-drill the dowel rods. Start by drilling a 20 mm hole in the top of the dowel rod. This is for the compass. Make sure the hole is deep enough for the compass to sit level with the top of the rod. Drill two holes for the handle. The first should be approximately 3″ from the top (where the compass will be), and the second should be approximately 9″ from the top.
- Step 1 – Give the Scouts their dowel rod and some sandpaper so that they can sand the rod. The Scouts are to draw designs on their rods with pencils.
They can do this freehand or use carbon paper (yes, you can still get it!) to trace the designs onto the rod. The Scouts should not draw between the two holes because anything there will be covered up by the paracord handle. - Step 2 – Parents should do this step. Using a wood burning tool, trace over the drawings.
- Step 3 – This step will need to be done at home. Give the Scouts baby food jars (or other small containers) with 2 or 3 ounces of Danish oil. They should apply 3 or 4 coats before the next meeting. Using a clean rag, apply the Danish oil generously to the hiking stick. Keep rubbing the stick until the wood seems to stop absorbing the oil.
Allow the stick to dry overnight, and apply another coat. Repeat until you’ve applied 3 or 4 coats. Make sure you’ve sealed the inside of the holes, the top and the bottom of the rod. The last coat of Danish oil should be applied at least 48 hours before your next meeting to give it time to dry completely. - Step 4 – Glue the compass into the recessed area on the top of the hiking stick. If needed, glue the rubber tip to the bottom.
- Step 5 – Wrap the paracord to form a grip and a wrist strap. You’ll start by inserting one end of the paracord through the top hole. Pull through the hole leaving about 9″ – 12″ hanging free. This will be part of the wrist strap. Insert the other end through the bottom hole, and pull tight.
Start wrapping the handle grip up toward the top hole. On the first wrap around the dowel, pass the cord you’re wrapping between the paracord “line” and the dowel rod. This will keep the paracord from slipping.
The second wrap will go over the top of the paracord “line”. The third pass will go between the line and the dowel rod. Continue alternating between going over the top of the “line” and going between the “line” and the rod. This will hide the string going from the bottom hole to the top. Every couple of passes, push the cord down so that there are no gaps between the wraps. Wrap the cord as tightly and as high as possible.
When you reach the top hole, insert the cord through it going in the same direction as the other part of the wrist strap. Tie a square knot to keep tension on the wrapped part of the handle. - Step 6 – Trim the wrist strap to your desired length, and attach the survival whistle. Attaching the zipper pull is a very tight fit, so you’ll need to remove about an inch of the inner threads from the paracord.
And now, your hiking stick is completed! Make sure you plan a hike soon so that the Scouts can test out their new hiking sticks.
Yours in Scouting,
Sherry
P.S. Check out these other wood projects for Cub Scouts!
36 responses
-
1
-
1
-
1
-
What a great resource!! I just found this and love the ideas here! We have been doing custom Hiking Staffs for our Pack for about 8 years using Bamboo – we award them when a boy gets his Bobcat. If anyone would like to see more ideas on this topic, check out https://www.pack44lititz.org/pack-hiking-and-camping. Full detailed instructions on how we make our Hiking Staffs are found here: https://docs.google.com/document/d/1oP8gSbRa-smVEoqUjyZPkxUUXXLNJOF1qs3Iy2lx3D4/edit?usp=sharing
Feel free to reuse anything that is useful to you 🙂
-
Great project! Thank you for sharing the plans and your ideas. Made things a lot easier and the kids loved making them. Much appreciated!
Leave a Reply