
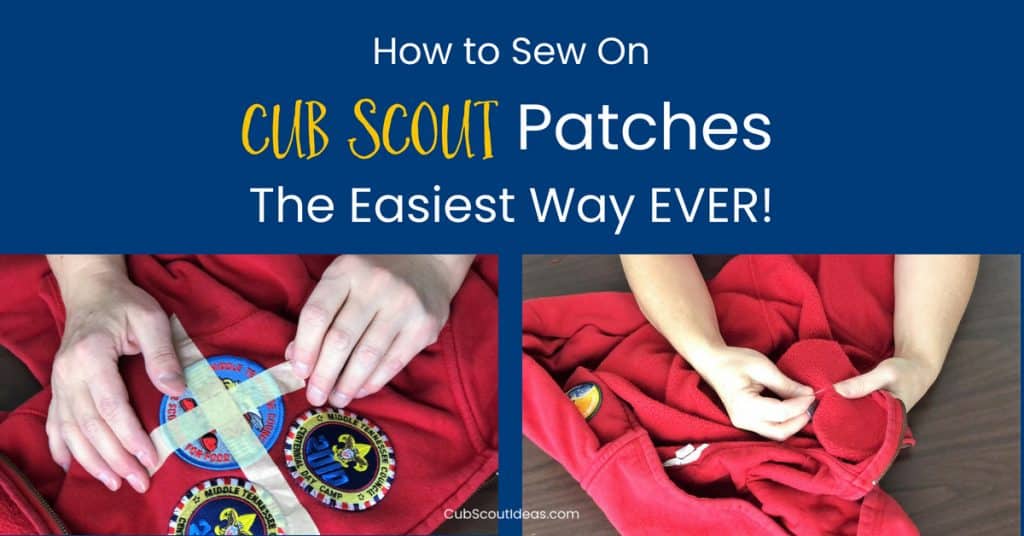
How to Sew on Cub Scout Patches the Easy Way
Learn the easiest way ever to hand sew on patches and badges for the Cub Scout uniforms. This sewing technique for attaching patches is super quick!
When your kids join Cub Scouts for the first time, there are lots of things that you as a new Cub Scout parent need to figure out. One of the most important is to get their unform ready for the first meeting.
If your Scout Shop is like mine, the employees are super helpful when you go in to buy your child’s uniform. They’ll show you which badges and patches you need to get started.
When you get home with the uniform and a bag of Cub Scout patches, your first thought is, “where do these things go?” That’s why my parents’ guide to Cub Scout patch placement is the most visited article on my blog.
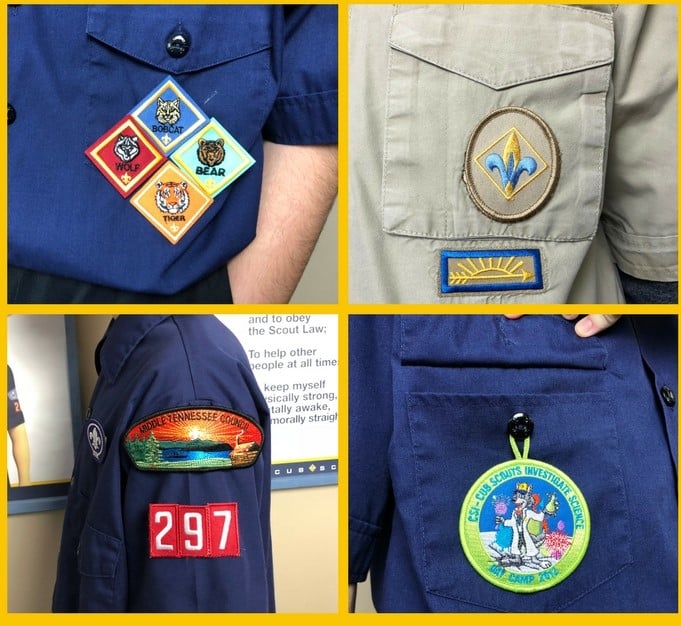
How to Attach Cub Scout Patches to the Uniform
The next question that comes up is “are the Cub Scout patches iron on?” Sorry to tell you that they aren’t. 🙁
But you do have several options of how to attach Cub Scout patches onto the uniform. My new favorite option is listed last.
Use Badge Magic
Badge Magic is a peel and stick instant badge adhesive used by many folks.
In fact, that’s what I used for my older son’s first uniform. It worked pretty well for the first couple of years. But by the time my son was a Bear, the edges started peeling up.
Have Someone Sew for You
There are some people who will sew patches on for you. Of course, this option assumes that you’ve planned ahead and it isn’t the day before your meeting. Not that I would know anything about that.
A woman I met at Cub Scout day camp sews them on for $1 a patch. She’s really doing it as a service for the Scouts because she donates the money she makes.
Another person I used charged $5 per patch. I was in a time crunch and couldn’t take it anywhere else, so I paid that. I do think that’s pretty expensive, and I didn’t use her again.
Use a Sewing Machine
If you have a sewing machine, you can machine sew the Cub Scout badges. If I only knew how to use the sewing machine my mother-in-law gave me…
Hand Sew Patches
With all these options, I usually hand sew the patches. But that option isn’t without its negatives too.
Some of the problems I’ve had are:
- Patches would be crooked.
- The thread would tangle up.
- Needles would almost break as I tried to push them through the thick edge of the patch.
And that doesn’t even count the number of times I’ve shed blood for Scout patches when I poked the needle into my finger! ?
There had to be a better and easier way to sew on those Cub Scout patches!
And I found it on Clarke Green’s since-retired site, Scoutmaster CG! He wrote and podcasted primarily about Scouts BSA, but he had resources that were applicable for Cub Scouts too.
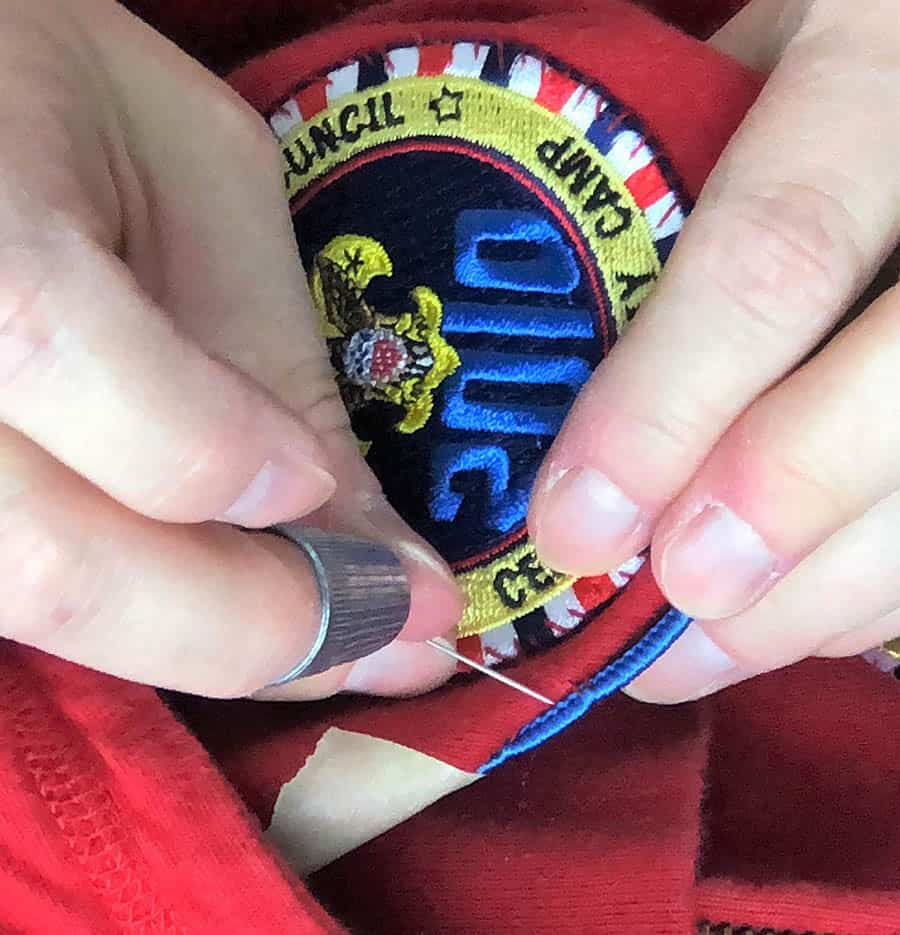
Easy Method to Hand Sew Patches
In Clarke’s method, you don’t push the needle all the way through the edge of the patch. Instead, the needle just goes through the threads on the back of the patch.
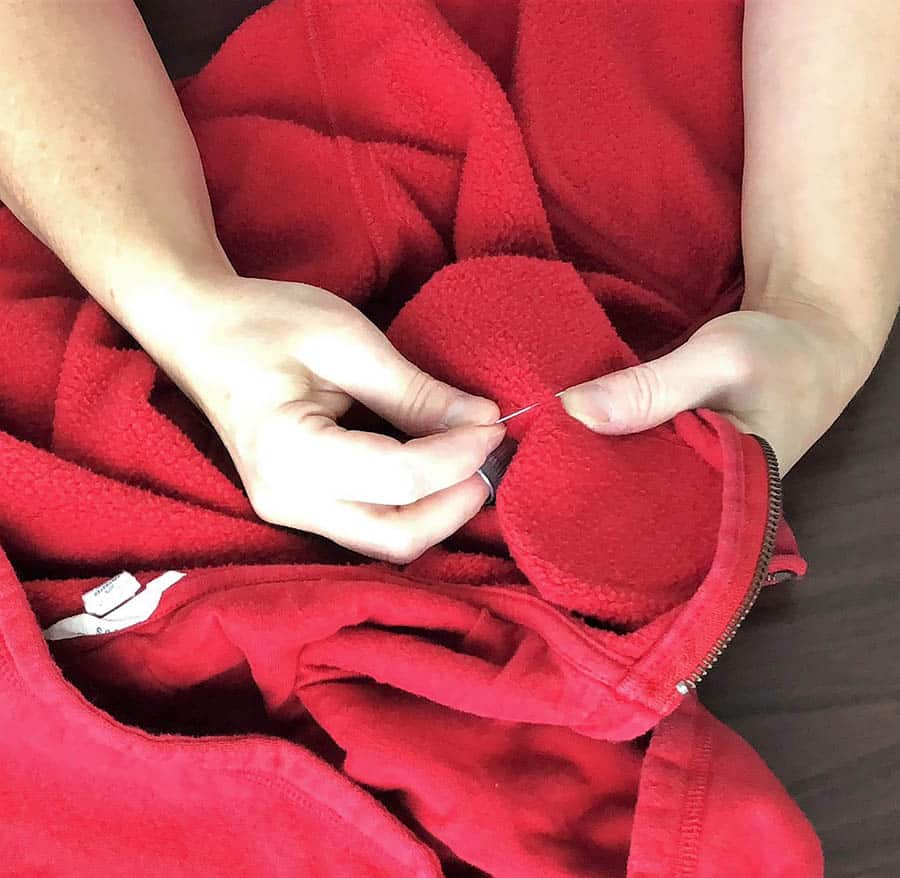
Like Clarke tells us, with this method “you can hide the stitches behind the patch this way and will only need one thread color that matches the shirt rather than the patch.”
I had to read through Clarke’s description a few times before I could visualize it in my head. But when it clicked, I realized that this has to be the easiest way to hand sew patches and badges on a Cub Scout uniform!
I couldn’t wait to try it out! It was as easy as I thought it would be.
You can see the technique in action by watching this video. Simply click on the image to see it.
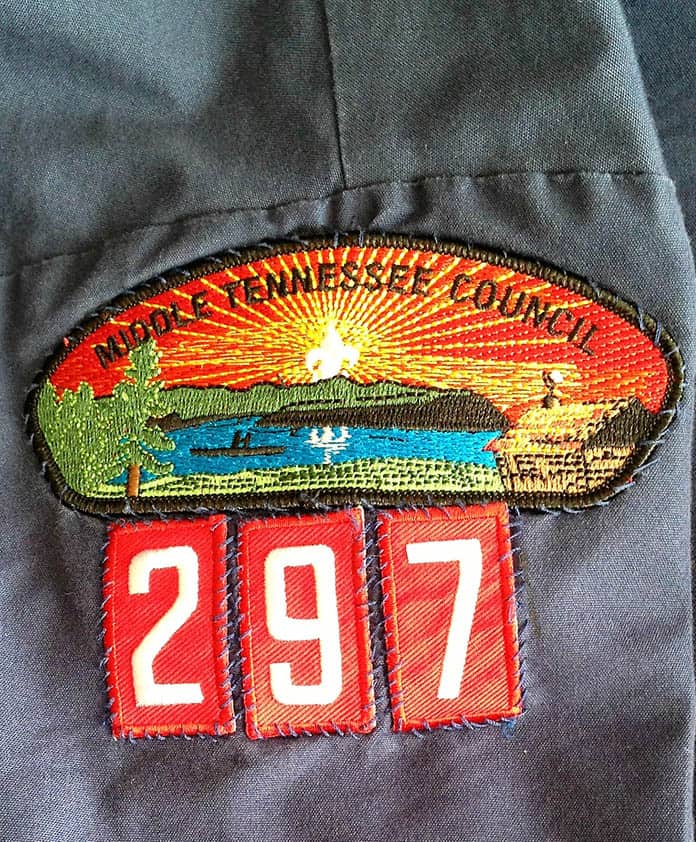
Bonus tip: If your pack number is more than one digit, sew the patches together first then sew the one big patch on. So much easier than sewing 2 or 3 individual patches on.
Let me know what you think about this method!
Don’t forget to read up on the Cub Scout uniform badge placement.
Yours in Scouting,
Sherry
P.S. You can learn about temporary Cub Scout patches here.
30 responses
-
I have found that if I staple the patches on first and then sew them on, I don’t have to worry about them moving around.
I would also do the stapling of the patches if I was in a hurry and wanted the patches on the uniform right then. then I can always sew then on later. I have to say I hate PATCH MAGIC, or any gluing on of patches. If the scout out grows the shirt and donates the shirt to the pack to pass on, it is almost impossible to get the glue residue of the shirt. I have tried Goo Be Gone and I end up having to take the shirts to a dry cleaners to have them use the strong stuff to get the glue off.
If someone does not want to bother with sewing the patches on, they should ask around to see if there is someone in their neighborhood that would sew then on for them.Also when sewing the patches on, DO NOT USE THE SMALLEST STICH. Use the longest stich. So much easer to remove patches when working with a patch sewn on with a longer stich.
Basically, ANY GLUE IS EVIL!!!!
Leave a Reply